You’ve got a baseball cap you love, it’s starting to smell like a locker room, and you want to throw it in the washer. The question isn’t whether you can — it’s whether your specific cap can handle it, and exactly how to machine wash a baseball cap so you don’t pull out something that looks like it went through a car wash.
Most guides tell you to just “use the gentle cycle.” That’s like telling someone to “drive carefully” without mentioning that their car might not have brakes. Knowing how to wash a baseball cap in the washing machine without ruining it depends on what your cap is made of, how old it is, and what’s actually hiding inside that brim.
This guide covers everything: a pre-wash cap assessment so you know if you can put your baseball cap in the washer at all, step-by-step machine washing instructions, a material-by-material breakdown, how to reshape a baseball cap after washing, and answers to every question people ask before they panic-Google “baseball cap losing shape in wash.”
Before You Touch That Washer: The 60-Second Cap Assessment
This step is what separates people who successfully clean their caps from people who end up with a sad, misshapen shell. Before you figure out how to wash a baseball cap in a washing machine, you need to know whether yours can handle it.
The Brim Test
Press the bill of your cap between your fingers. Does it feel:
- Rigid and slightly hollow, like thick cardboard? That’s a cardboard insert. Do not machine wash this cap. Full submersion will permanently destroy the bill’s structure. This is common on vintage caps — anything made before the mid-1980s — and very cheap novelty hats. The cardboard bill risk is real and irreversible.
- Firm but slightly flexible, with a consistent snap-back feel? That’s a plastic insert. You’re cleared for machine washing with the right technique.
Check the Care Label
The care label is usually stitched inside the sweatband. Laundry symbols to look for:
- A tub with a hand = hand wash only
- A crossed-out tub = do not submerge in water (spot clean only — typical on caps with leather or suede panels)
- A tub with gentle waves = machine wash, gentle or delicate cycle
- No label? Default to hand washing unless the cap is clearly a cotton twill or polyester construction with a plastic brim.
Material Quick-Check Table
| Material | Machine Wash Safe? | Notes |
|---|---|---|
| 100% Cotton twill cap | Yes | Most common construction; handles a gentle cycle well |
| Polyester / poly-blend cap | Yes | Most durable; very low shrink risk |
| Nylon mesh cap (trucker hat) | Yes | Mesh panels are fine; assess the foam front panel separately |
| Wool blend cap | Risky | High shrink risk; cold water only, or hand wash |
| Cotton canvas cap | Yes | Treat like cotton twill; cold water is mandatory |
| Leather or suede panel cap | No | Spot clean only; water ruins these materials |
| Pre-1985 vintage cap | No | Almost certainly has a cardboard bill; don’t risk it |
| Caps with glued embroidered patches | Risky | Stitched embroidery handles washing fine; glued patches may peel |
What You Need
Keep this simple. Here’s what actually matters:
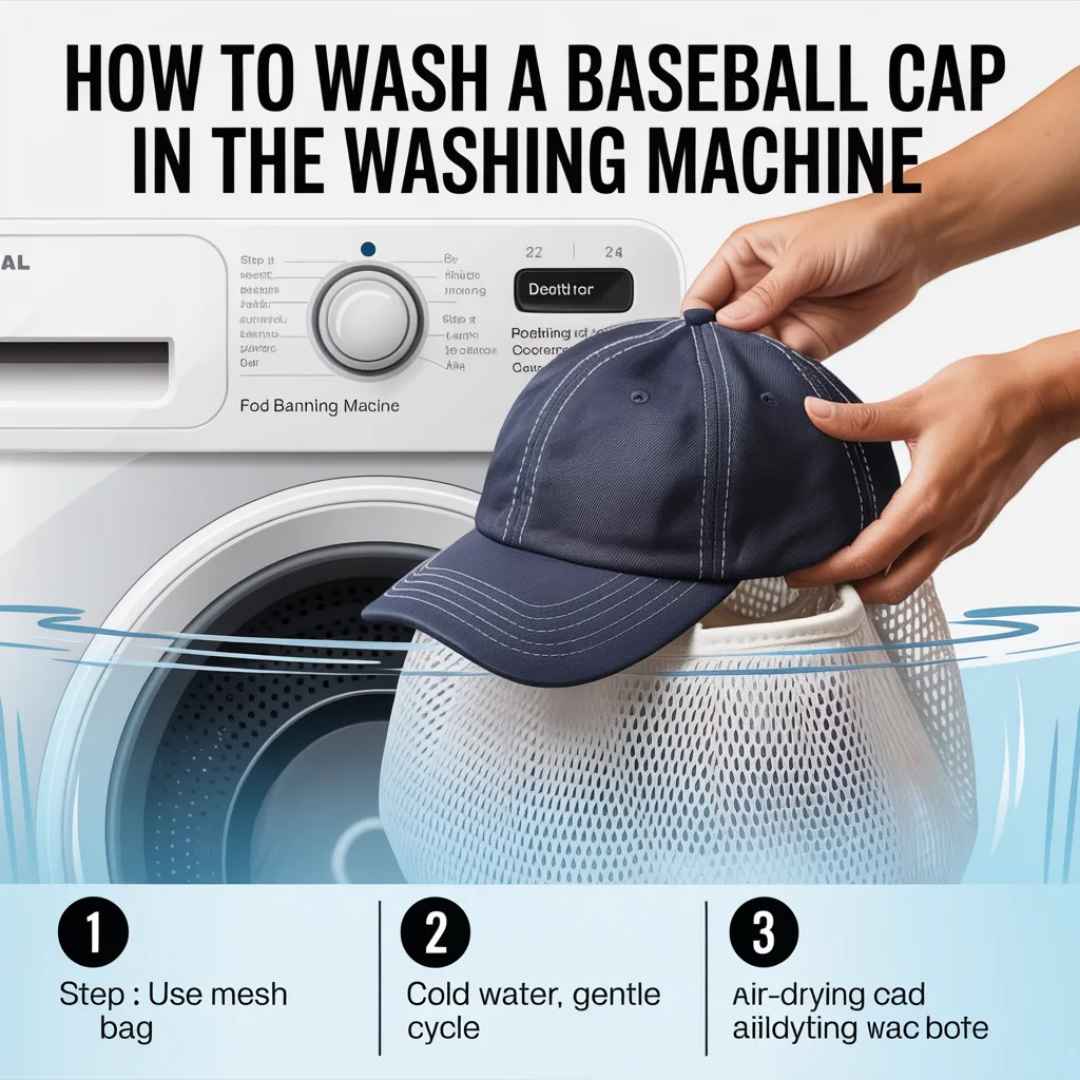
- A mesh laundry bag or pillowcase — Non-negotiable. A hat cage or mesh laundry bag cushions the cap against the drum during agitation and prevents the bill from being forced into an unnatural angle against the machine wall. No bag? Tie the end of the pillowcase closed after stuffing the cap inside. This is the pillowcase method, and it works.
- Mild, color-safe detergent — Use an enzyme-free detergent with no optical brighteners or bleach. Look for sensitive-formula or “free and clear” varieties. For wool blend caps, a wool-specific detergent is worth buying.
- Cold water — Not cool. Cold. Heat is the primary enemy of both cap shape and color retention.
- A hat form, small bowl, or rolled towel — For drying. You need something to hold the crown’s shape as it dries. A hat stretcher works too for this purpose.
Optional but genuinely useful:
- White vinegar (sweat odor pre-treatment and mineral deposit breakdown)
- OxiClean or a similar oxygen-based bleach product (for deep sweat stains — oxygen bleach, not chlorine bleach)
- A soft-bristle toothbrush (for scrubbing the sweatband and spot-treating the visor)
- Baking soda (odor neutralizer for use between washes)
How to Wash a Baseball Cap in a Washing Machine: Step-by-Step
Step 1: Pre-Treat the Sweatband (Don’t Skip This)
The sweatband is where the majority of the grime lives. Sweat isn’t just water — it’s a combination of sodium chloride (salt), urea, and body oils that chemically bond to fabric fibers over time. That’s why plain detergent on its own often doesn’t fully clear the residue, and why knowing how to wash baseball cap sweatband buildup correctly matters as much as the wash cycle itself.
Apply a small amount of liquid detergent directly to the sweatband. Work it in with a soft toothbrush using circular motions. For heavy yellowing or those telltale white salt deposits — classic signs of dried sweat chemistry at work — mix one part white vinegar with one part water, apply it to the sweatband and any stained areas of the crown, and let it sit for 10 minutes before washing.
The acidity in white vinegar dissolves the mineral deposits that salt and oxidized oils leave behind.
If the exterior of the cap — particularly the crown panel just above the sweatband — shows that yellowish-white haze, pre-treat those areas the same way. This is how to clean sweat stains from a baseball cap before they get fully set in.
Step 2: Place the Cap in a Mesh Laundry Bag
A hat cage designed for washing machines is the ideal option, but a standard mesh laundry bag accomplishes the same thing. It does two jobs simultaneously: it cushions the cap against the drum walls during the spin cycle, and it prevents the bill from catching on the agitator or drum openings and bending out of shape.
If you’re using the pillowcase method, knot the open end firmly. If washing multiple caps, give each one its own bag — stacking two caps inside one bag reduces the protection both of them get.
Step 3: Choose the Right Load
You can put a baseball cap in the washer with other items, but choose lightweight companions only — t-shirts, underwear, socks. Never wash a cap with jeans, towels, hoodies, or anything with significant mass and density. Heavy items create more mechanical impact and friction during the spin cycle. That’s exactly what causes brim warping, crown crushing, and the kind of baseball cap losing shape in the wash that ruins a good hat.
Step 4: Set the Machine Correctly
This is where most people go wrong. Here are the exact settings — the answer to “what setting to wash a baseball cap” that most guides leave vague:
- Water temperature: Cold — aim for 30°C / 86°F or below. The colder the better.
- Cycle: Delicate or Gentle. These cycles have reduced agitation speed and shorter run times, both of which reduce mechanical stress on the cap’s structure.
- Spin speed: If your machine allows separate spin speed control, set it to the lowest available. High spin force is another major cause of rim distortion.
- Extra rinse: Worth doing once. Detergent residue left in the fabric can cause gradual discoloration over time.
Use the lower end of your detergent bottle’s recommended amount. You don’t need a full measure for one cap.
Top-load vs. front-load washing machine note: A front-load washing machine is gentler by design because it tumbles the load rather than agitating it with a central spindle. If you’re using a top-load washing machine with a central agitator, position the cap in its mesh bag against the side of the drum — not resting directly on the agitator itself. High-efficiency (HE) top-loaders without an agitator behave more like front-loaders and are fine.
Step 5: Remove the Cap Immediately When the Cycle Ends
Set a timer. The moment the cycle finishes, take the cap out. A damp cap left compressed inside the drum will gradually set into that compressed shape. Promptness here is a shape-retention tool as much as anything else.
After washing a Baseball cap, here’s how to dry it
This section matters as much as the wash itself — possibly more. Can you put a baseball cap in the dryer? No. Hard no.
Never tumble dry a baseball cap. Not on low heat. Not for five minutes. The heat shrinks fabric fibers, softens and loosens the adhesive inside the bill’s plastic insert, and deforms the crown’s buckram interfacing. Even the “air fluff” or lowest heat setting on most residential dryers runs at around 50–55°C (122–131°F) — that’s above the threshold where cotton begins to shrink and where structured cap materials start to distort.
This is how baseball caps shrink in the washer — people blame the wash cycle when it was actually the dryer.
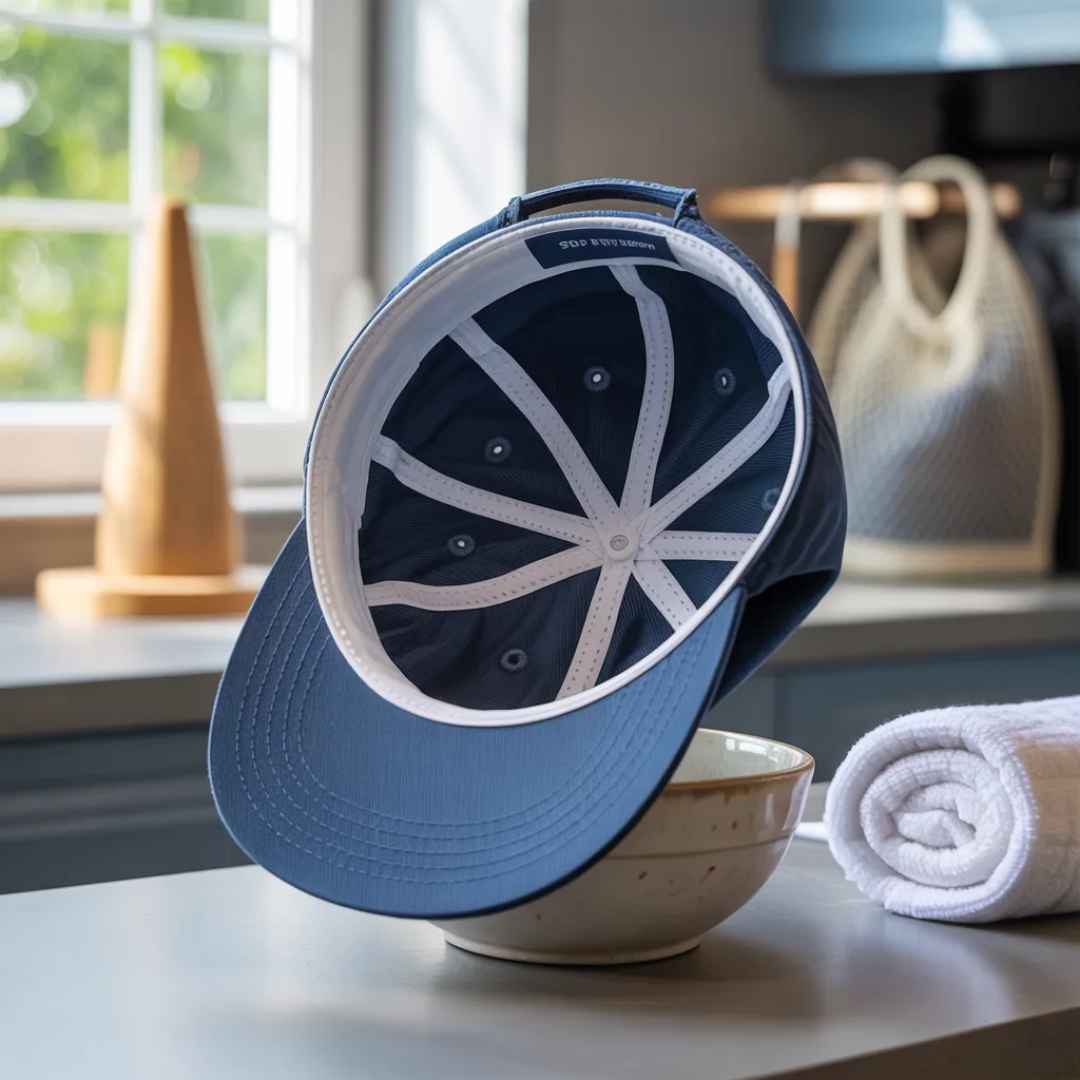
Air Drying the Right Way
- Reshape the crown first, while the cap is still damp. Fabric is most pliable when wet. Use your hands to push out any dents, smooth the panels, and restore the dome shape.
- Re-curve the bill now. Set it to your preferred shape — classic arc or flat brim — before it dries. This is your window.
- Place the cap on a shape-retention tool:
- A hat form is the best option. Hat forms are inexpensive and purpose-built for this exact task.
- An upside-down bowl or pot of approximately head-width works well as a substitute.
- An inflated balloon roughly the size of a head is genuinely effective.
- A tightly rolled towel stuffed into the crown works in a pinch.
- Store at room temperature, away from direct sunlight. UV exposure accelerates color fading, especially on dark-colored caps.
- Allow 12–24 hours for full drying, depending on fabric weight and ambient humidity. Do not wear or store the cap until the sweatband is completely dry — a damp sweatband is a mold and mildew risk.
Myth vs. Fact: Baseball Cap Washing Edition
Misinformation about hat care is genuinely everywhere. Here’s the fast version:
| Myth | Fact |
|---|---|
| “Baseball caps can be washed in the dishwasher.“ | There are often bleaching agents in dishwasher detergents due to their high pH. The heat cycles also run far hotter than any safe fabric temperature. This will cause color fading and can permanently warp the bill. |
| “It is easier to clean with hot water .” | A cap’s shrinkage, color bleeding, and shape loss are all caused by heat. Cold water combined with good detergent outperforms hot water every time for fabric care. |
| “The dryer on low heat is fine for a few minutes.” | No. The minimum operating temperature of most residential dryers on their lowest setting exceeds the safe threshold for cotton and structured cap materials. Air dry, always. |
| “The washing machine is safe for all fitted caps .” | False. Wool-blend fitted caps carry a significant shrinkage risk even on a gentle cycle. Check the material before assuming any fitted cap is machine washable. |
| “Bleach gets rid of sweat stains.” | Chlorine bleach reacts with the proteins in sweat — specifically the urea compounds — and makes the yellowing worse, not better. Use an oxygen-based cleaner instead. |
| “If there’s no care tag, just guess.” | The brim test plus the fabric feel gives you enough information to make a safe call in almost every case. When genuinely uncertain, hand wash in cold water. |
Material-by-Material Guide
How to Wash a Cotton Baseball Cap
Cotton twill is the most common construction in standard baseball caps and the most forgiving material to machine wash. Cold, gentle cycles handle it well. The one real risk is slight shrinkage — 100% cotton caps can shrink up to approximately 5% even in cold water.
If the cap is already a snug fit on your head, the pillowcase method with hand washing in cold water is the safer route. Cotton canvas caps behave identically: treat them the same way.
Washing a Polyester Baseball Hat
Polyester and poly-blend caps are the easiest category to machine wash. Polyester is dimensionally stable under washing conditions, highly color-fast, and dries quickly. Most modern performance caps are made from polyester or synthetic blends specifically because they’re designed to be washed repeatedly. These are the caps that handle the washer best.
Can You Wash a Wool Baseball Cap?
This is the highest-risk material category. Wool felts — meaning the fibers physically mat together and compress — when exposed to agitation and heat simultaneously. Even a cold, gentle machine cycle provides enough mechanical agitation to cause irreversible shrinkage in high-wool-content caps. For any cap with significant wool content, hand washing in cold water with a wool-appropriate detergent is the right call.
If you do put it in the machine, use the absolute coldest water setting available and the most minimal agitation cycle your machine offers. Inspect it immediately when the cycle ends and reshape it while damp.
Nylon Mesh Caps and Trucker Hats
The nylon mesh panels themselves are essentially indestructible under normal washing conditions. The variable with trucker-style caps is the structured foam front panel. Most modern foam front panels handle a gentle machine cycle fine, but cheaper foam can lose its rigidity or develop a wavy, uneven texture after washing. When in doubt with a trucker hat, hand-washing it — the mesh back will clean just as easily by hand.
Structured vs. Unstructured Caps
Structured caps — fitted caps, snapbacks, and most classic six-panel styles — have buckram or woven interfacing inside the crown panels that holds the dome shape. This interfacing is generally stable in a cold, gentle machine wash. Unstructured caps — “dad hats,” soft six-panel styles, and relaxed-fit caps — have no rigid interfacing, which actually makes them easier to wash and reshape. Less structure means less to distort.
Snapbacks and Fitted Caps
How to wash a snapback in the washer follows the same rules as any other cap: cold water, gentle cycle, mesh laundry bag, and no dryer. The plastic snapback closure at the rear is unaffected by machine washing. For how to wash a fitted cap in a washing machine, material is everything — a polyester fitted handles it easily, while a wool-blend fitted should not go in the machine at all.
What to Do If the Wash Went Wrong
Sometimes it happens. Here’s the recovery playbook:
Baseball cap shrank in the washer: Dampen the cap thoroughly with warm water until the fabric is pliable, then stretch it gently over a bowl or hat form that’s slightly larger than the cap’s current shape. Stuff a newspaper or a tightly rolled towel inside the crown to hold the stretch while it dries. Most cotton caps that shrank slightly can recover 60–80% of the lost size through this method.
Warped or bent bill: While the cap is still damp, manually reshape the bill to the correct curve. Position it over a curved surface — an upside-down bowl, a large coffee can — that approximates the bill’s intended shape. Secure it with rubber bands and let it dry fully in that position.
If the bill has already dried and set in the wrong shape, hold it 4–6 inches away from a clothes steamer for 30–60 seconds to relax the plastic insert, then reshape by hand immediately.
Color fading or bleeding: This is largely irreversible once it’s happened. Cold water, color-safe enzyme-free detergent, and no bleach are the preventive measures. For minor color bleed between panels, a color-catching laundry sheet added to the wash cycle on the next round can help contain it.
Crown crushed or dented: Reshape while damp using your hands and a stuffed towel inside the crown. For a dry cap with a persistent dent, steam from a kettle or clothes steamer held about 4 inches from the fabric relaxes the fiber structure enough to allow reshaping. As soon as the steam contact ends, you have a short window to work.
A Note From Experience
After years of working through hat care across every fabric type imaginable — and after ruining a few caps that deserved better — the pattern becomes clear. The single most common mistake isn’t using the wrong water temperature or the wrong detergent. It’s skipping the brim assessment entirely.
People assume all modern caps are built the same. They aren’t. A cotton twill structured cap with a thick buckram front panel behaves completely differently from a lightweight unstructured poly-blend cap, even if they’re sitting on the same shelf at the same price point. The care label takes ten seconds to read. Replacing a cap you cared about costs considerably more.
The second most common mistake is the dryer. The temperature numbers tell the story clearly: the average residential dryer running on its lowest heat setting operates at around 50–55°C (122–131°F). That’s enough to set a permanent distortion into the bill’s plastic insert and cause measurable crown shrinkage in cotton and cotton-blend fabrics.
Air dry every time. Set a phone timer the moment the wash cycle starts, pull the cap out promptly, put it on a form. That really is the whole method.
Frequently Asked Questions(FAQs)?
Is it possible to wash a baseball cap in the washing machine?
Yes — with conditions. Baseball caps made from cotton, polyester, or canvas with a plastic bill insert are generally safe to machine wash on a cold, gentle cycle inside a mesh laundry bag. Caps with cardboard bills, high wool content, leather or suede panels, or glued embellishments should be hand-washed or spot cleaned instead.
What setting should I use to wash a baseball cap in the washing machine?
Always use the delicate or gentle cycle, set to cold water. If your machine has a separate spin speed control, set it to the lowest option. The goal is minimal agitation speed and zero heat — both destroy cap shape and color. This is the answer most people are looking for when they search “what setting to wash a baseball cap.”
How do you wash a baseball cap without it losing its shape?
Three things protect the shape: (1) a mesh laundry bag or hat cage during the wash cycle, (2) removing the cap immediately when the cycle ends rather than letting it sit compressed in the drum, and (3) air drying it on a hat form, upside-down bowl, or stuffed towel so the crown dries in the correct shape. The dryer is the single biggest cause of shape loss — never use it.
Can I wash a fitted hat in the washing machine?
It depends entirely on the material. Polyester-blend fitted caps handle machine washing well. Cotton fitted caps can shrink slightly even in cold water — be aware of that if the fit is already snug. Wool-blend fitted caps should not go in the washing machine at all; the shrinkage risk is too high. Hand washes those in cold water.
What is the best way to remove sweat stains from a baseball cap?
Pre-treat the sweatband and any exterior staining with either liquid detergent worked in with a soft toothbrush, or a 1:1 mixture of white vinegar and water left to sit for 10 minutes.
For heavy, set-in yellowing caused by oxidized oils and sodium chloride buildup, apply an oxygen-based cleaner as a paste and let it sit for 15–20 minutes before washing. Never use chlorine bleach — it reacts chemically with sweat proteins and makes the yellowing measurably worse.
How often should you wash a baseball cap?
Use intensity rather than a fixed schedule. A cap worn daily during physical activity typically needs washing every one to two weeks. A cap worn casually a few times a week can go four to six weeks. The sweatband is the reliable indicator: when it feels stiff, shows visible salt lines, or develops an odor, it’s time.
Spot-cleaning the sweatband with a damp cloth and a small amount of baking soda between full washes extends the intervals between full machine or hand washing cycles significantly.
Conclusion: How to Wash a Baseball Cap in the Washing Machine
Machine washing a baseball cap isn’t risky when you know what you’re doing — it’s risky when you skip the assessment, ignore the laundry symbols, and treat every cap the same regardless of its fabric, construction, and brim type. Get those steps right, and a washing machine is a perfectly effective tool for the job.
It’s not bad luck that ruins caps. They’re victims of wrong assumptions — usually about the dryer being “fine on low,” or about all caps being machine washable, or about bleach being a solution for sweat stains rather than the cause of worse ones.
Cap manufacturing continues to evolve. More technical coatings, proprietary fabric treatments, and performance fabric blends are entering the market, and the behavior of those materials under agitation and heat doesn’t always follow the old cotton and polyester rules. The care label is becoming more important over time, not less. When in doubt, check it. It’s there for exactly this reason.
What to do next: If your cap came out of the machine with stains that didn’t fully clear, move to a 30-minute cold-water soak with an oxygen-based cleaner before a second wash.
If you’re in the market for a new cap and want to avoid the care complexity entirely, look for caps explicitly labeled machine washable — many modern performance and outdoor caps carry that designation and are designed to handle regular washing without special handling.